Thursday, May 27, 2010

pattern on Skabored and Converse


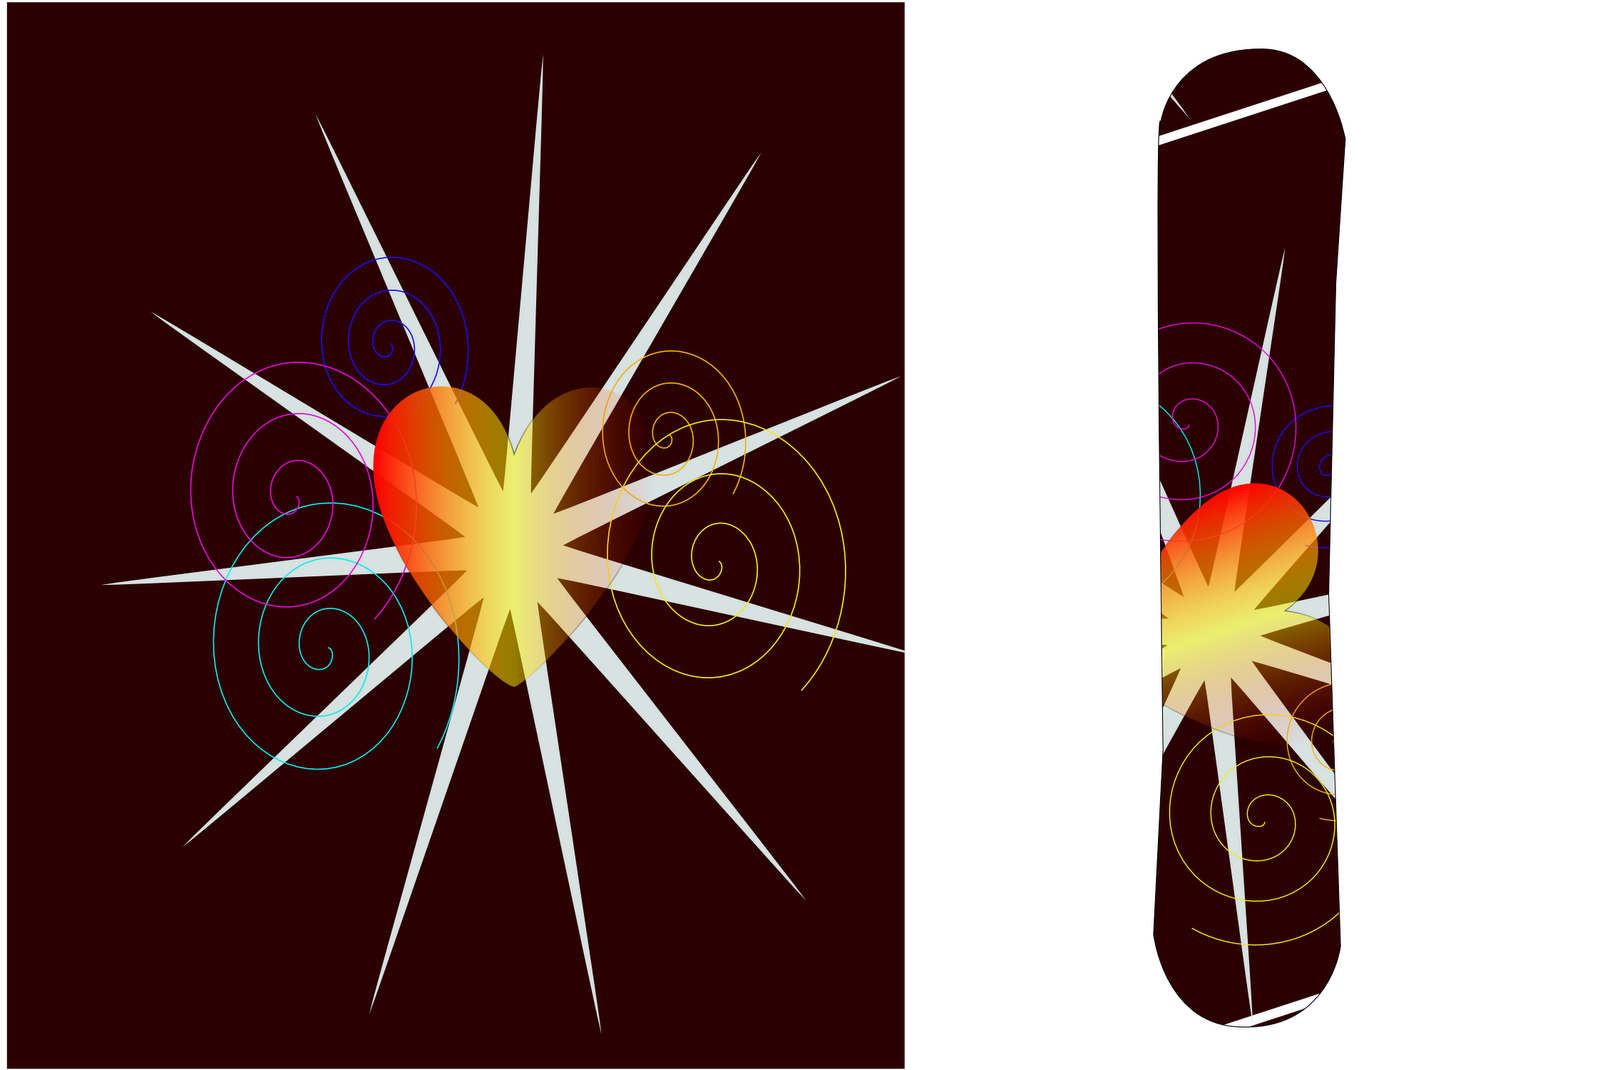
To create these pitures we first did a design which we then put into anything we wanted to. First I out made by design and then decied to put it into a converse which I thing turned out pretty well. My favorite one is where I made that black background with the star and then put it into a snowborad and I also like that you can choose which part of your design you wanted to show on the Snowbored.

Rainbow


In the imagine above I made a Rainbow which we did together as a class. I thought it was quite hard but I like my end result. When we had to prepare imagines of the Spring Arts festival I added text and clouds and also a background which made it look more nice.

Capturing the Moment


This is a collage I made which has some of the pictures that Vanessa, Julia and I have made. We had to make pictures where we capture the moment such as Jumping or running. This was my favorite lesson for it was fun and I love taking pictures. We got to try different things as throwing a stick and sometimes the most random pictures you take turn out to be the best ones.

Thursday, May 6, 2010

Neon Glow


This neon glow was one of my favorites to make for I really like how it glows. I chose the blackground to make the glow stand out more. I had to blur the last lyer which gave the text the glowing affect. I also really like the colors I have chosen for green makes the glow look good. I had a lot of fun making the neon. :)

Bubble text


I also made a text where there is text and around it there are two bubbles. After I made the bubbles I changed the colors so that you can see that there are more then on layer. I believe that this one of the easier texts that we got to chose from to try but even so it was fun and it was also a good start before I tried some of the harder affects on other texts. :)

Reflection glow

I created this pic by using a website. IT was a lot of fun becasue after you got the design (text) you got to play around with it and change the color and I also added a glow to one of them ( the middle one) We are learning how to create thesae cool affects on words and I hope to learn others. I also added a blackground to give it a more cool and interesting affect to the text. :))

Monday, April 26, 2010

Converse pattern


At the top you see two converse with two different patterns. Those patterns that you see, I have created and then copied it so that it shows up on the converse. It was a lot of fun and you got to make any pattern that you wanted. It was as if you got to design your own converse. I hope to learn more about patterns and maybe even learn how to make more complicated designs.


Monday, April 19, 2010

Retouch pics


This is my edited picture. I removed the dog that was once there with the clone tool. In order tro do that zou have to hold down alt and click on the spot that you want to copy, then you let go and you just simply press down on the part where you want what you have copied to be. This one on the right is the origenal on. The one on the left is the one who I edited. It was a lot of fun and I hope to learn more interesting things about retouching things.

Wednesday, April 14, 2010

Retouch on Sarah Jessica Parker

Here is a picture of Sarah Jessica Parker which I retouch by using Photo shop:

Sarah Jessica Parker is a famous Hollywood star. We had to chose a picture from a folder and then save it and download it to Photo shop. We then had to retouch her by using the clone stamp tool. I retouch her chin becasue she had a huge spot there and I also made her make up a bit more dark and her lip stick more clean. I also covered up some of the wrikles she had. It was really fun and I hope that we can learn more about it .

Thursday, March 11, 2010

Macro skills


Using the Macro skill on the camera we had to get really close to a object and take a picture of it. As you can see above it is quite hard to figure out what this is. Is it a pathway? Is it a part of an object??? It is a part of a pathway. I got really close and this way it got and interesting and cool affect. When you get really close to an object it changes the whole affect. You can see how there is a stone in the crack. People will think this is a lot more intersting photo for the pathway it self is not that interesting. As you can see that with photgraphy you can change something as boreing as a pathway into something that interesting. If you get really close you can also notice that there is water inside a crack and you can see where it is smooth and where it is bumpy. Macro allows you to do such things for if you do not set you camera to this affect your picture out come will be a blury one. This Macro tool allows a whole other world to be visable.

Thursday, March 4, 2010

Composition Elements * Depth*


Solitude, originally uploaded by Rob Cherry.

This picture shows a picture of death because the pathway leads into the distance.

Composition Elements * pattern*


ondivago ^^^, originally uploaded by pierpmont.

This is a picture of patten because the are all the same

Composition Elements * Symmetry*


Tunnel, originally uploaded by m+b.

This is a picutre of Symmetry because the walls are the same on each side.

Composition Elements * Rule of thirds*


Street Level Sparrow, originally uploaded by Mchl4237.

In this picture there is a cute bird which the photographer put on to the side because it gives the picture a speacial affect. So it is a rule of thirds cause the main focuse is not in the center of the page.

Composition Elements * Texture*


...rainy beach...[FP], originally uploaded by Geoff....

This picture of a boy shows texture because of the waves and the foot prints in the sand.

Composition Elements * lines*

In this picture there are markers all lined up which shows alignment.

Thursday, February 25, 2010

Duck and Chicken in a barn.


In order to make this picture i first needed to learn to use the beizer tool which is a tool that allows you to create almost any shape that you want. Onced we have learned how to use the tool a bit we then imported different animals. We got to chose one and then useing the beizer tool we traced the animal. I did a duck and a chicken. Afterewards we added a background in order to make the animals more interesting to look at. I decied to make a barn for I had traced " barn animals". One side of my pciture takes place in a barn the other takes place outside. Using some of the skills I learnt, I also made some eggs and a straw bundle in order to create a better scenary. All in all the main goal was to use the beizer tool to trace animal and then afterwards put it in a picture with a background.

Monday, February 1, 2010

First time using Inkscape

This was my first time using inkscape in grade 7. We were allowed to play around with the tools and see what we could do. It was a lot of fun but I still have a lot to learn. It was very interesting to see what we could do with the tools: stars, lines etc. I even figured out how to do a backround.
I am looking forward to doing new things!

Thursday, January 28, 2010

Heart

If it is hard to believe or not this heart is made out of four different hearts. The base is a plain black heart. I then copied it and made the second heart a bit smaller then the black one. Afterwards I copied the hearts again and I played with the gradiates. I made one side of the heart yellow and the other see throw. I then did the same with the 4th heart. In order to make the sparkle in the corner I made a little star and then faded it a bit. Afterwards I did the same with the a circle and also faded it a bit. At the end I put it all together. First the black heart, then the red one, and then the first half see through one and then the second half see throw one. I put the sparkle in the corner of the heart and put the circle over the star. we this was a more advanced heart then the ones we did before. It is suppose to give the affect that the heart is standing out a bit.

Monday, January 25, 2010

Cartoon Woman


This is a cartoon woman which I made from a youtube video. The aim of doing a cartoon was to see what different tools and things that you can do on Inkscape. Our challenge was to try to copy the youtube video cartoon man and then after we did that we could go on to making it our own person. At first this woman was a man but after I made him I changed him into a woman. Some of the tools I learned to use was the Bezier tool which is a tool to help make a month or a nose. Another tool was the free hand tool which allows you to make shapes or lines. I also learned how to make the cartoon into one picture by using the botten "Intersect" .
All in all I learnt a lot and I believe I can use these skills that I learnt to make many other things.